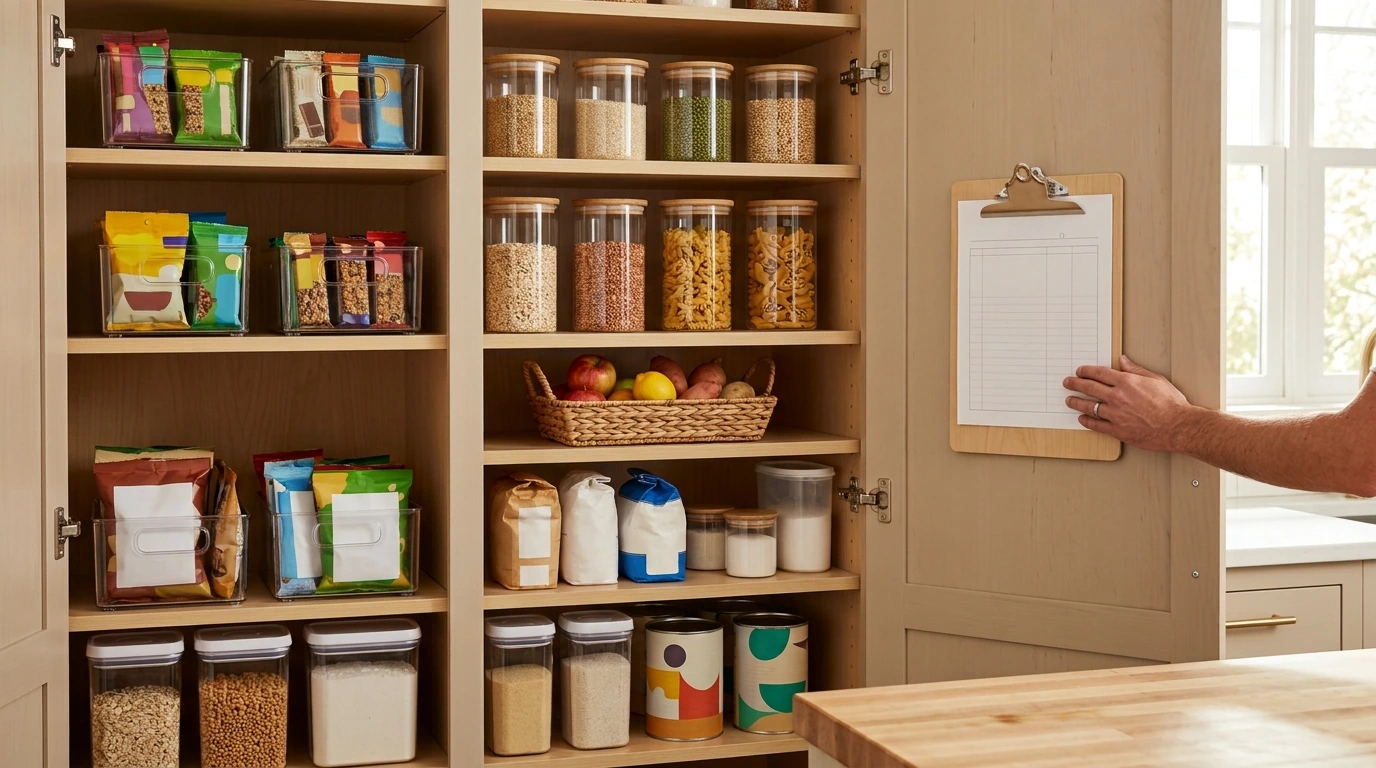
A pantry can look calm and stay functional without a full renovation. The simplest path is a repeatable routine: clear what doesn’t belong, create zones that match how food is used, and add a few styling touches that make upkeep effortless. The printable checklist in this guide turns that routine into a quick, satisfying reset that can be repeated seasonally—or in under an hour when life gets busy.
When a pantry feels overwhelming, the fastest way forward is to shrink the project. A short, focused reset keeps momentum high and prevents the “pull everything out and regret it” spiral.
If you want an easy way to repeat the same steps every time, keep the Pantry Styling Made Simple printable checklist where it’s visible (inside a cabinet door or on a clipboard). The goal is fewer decisions, not a perfect pantry.
Decluttering works best when it’s paired with a plan for what stays. Otherwise, the pantry looks nice for a week and then quietly refills with duplicates and half-open bags.
For food safety and storage guidance, use authoritative references when you’re unsure: the USDA FoodKeeper App and the FDA food storage guidelines are helpful for quick checks.
The neatest pantries aren’t organized by “what looks pretty.” They’re organized by what gets used together. Build zones around real routines so everything has an obvious home.
| Zone | Best location | What goes here | One easy boundary |
|---|---|---|---|
| Use-first | Eye level | Near-expiration items, open bags | Small handled bin |
| Daily staples | Waist to eye level | Rice, pasta, oils, canned basics | Tray or shelf riser |
| Snacks | Kid-friendly reach | Bars, chips, fruit snacks, crackers | 2–3 clear bins by type |
| Baking | Mid shelf | Flour, sugar, chips, sprinkles, extracts | Lidded bin or drawer-style bin |
| Breakfast | Eye level | Cereal, oatmeal, coffee/tea | Turntable for jars/tins |
| Backstock | Lowest or highest shelf | Extras and bulk refills | Labeled tote |
Pantry styling is really “visual friction reduction.” When items are easy to see, grab, and put back, the pantry stays attractive with minimal effort.
Keep your routine consistent with the Pantry Styling Made Simple printable checklist so the pantry reset feels repeatable, not like a one-time project.
Consider a compact grater that’s easy to grab and put away, like the Stainless Steel Vertical Food Grater with Wooden Handle – Manual 3-in-1 Slicer, or a countertop-friendly option with a catch box like the Premium Acacia Wood Cheese Grater with Stainless Steel Blade and Catch Box. For a simple “beverage zone” refresh that looks styled on open shelving, the 4PCS Retro Bead Drinking Glass Set can make everyday drinks feel more intentional without adding clutter.
Decant frequently used dry goods and anything that gets messy once opened (flour, rice, cereal, snacks) into clear, airtight containers. Keep odd-shaped items, short-term ingredients, and anything with critical instructions (or frequently changing brands) in original packaging to avoid confusion.
A seasonal reset works well for most households, paired with a quick weekly 5-minute tidy of the snack and use-first zones. Add a monthly date scan and rotate near-expiration items forward to cut down on waste.
Use clear zones with large, readable labels, and keep kid-height snack bins so items can be put back independently. Simple boundaries like trays and bins prevent category “sprawl,” and a shared rule to move older items forward helps everyone maintain the system.








Leave a comment