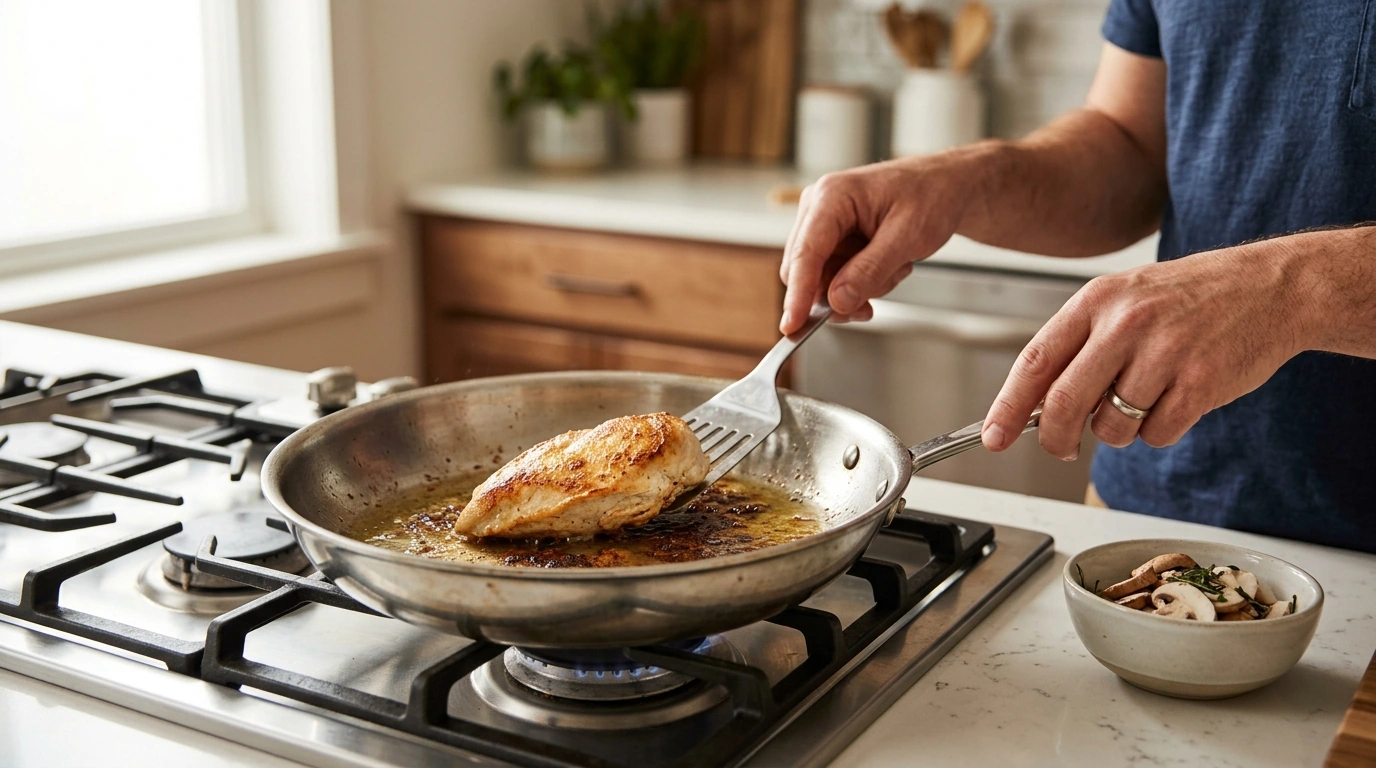
Stainless steel pans can deliver restaurant-level sears, crisp edges, and silky sauces—once the heat, timing, and technique click. This checklist-style guide turns the most common sticking, scorching, and dull-pan frustrations into simple steps you can follow before, during, and after cooking, plus quick troubleshooting for real-life weeknight cooking.
Stainless steel shines when you want real browning. It builds fond (those browned bits) that become the base of pan sauces, and it holds up to high heat, metal utensils, and years of daily use. The tradeoff is that it’s less forgiving than coated nonstick when your heat or oil timing is off.
Food sticks most often for a few predictable reasons: the pan wasn’t fully preheated, oil went in at the wrong time, the food surface was wet, or the food was moved too soon. The good news is that stainless often “self-releases” once a crust forms—so the skill is mostly about sequence and patience.
The learning curve pays off with deeper flavor, easier deglazing, and cookware that stays in your rotation long-term.
| Food | Preheat Level | When to Add Oil | When to Flip/Move |
|---|---|---|---|
| Eggs | Low to medium-low | After pan warms, before eggs | When edges set; gentle release with spatula |
| Chicken cutlets | Medium | After preheat, swirl to coat | When it releases easily and is deeply browned |
| Steak | Medium-high | After preheat, add thin film | After strong crust forms; avoid early poking |
| Vegetables (stir-fry style) | Medium-high | After preheat, add oil then veg quickly | Toss once browning starts; avoid overcrowding |
| Fish fillets | Medium | After preheat; use enough oil | When edges look opaque and release is clean |
For safety when cooking proteins, use a thermometer and follow the USDA’s guidance on minimum internal temperatures: Safe Minimum Internal Temperatures.
For practical dishwashing basics and best practices, the American Cleaning Institute is a helpful reference: Dishwashing and Cleaning Basics.
For a ready-to-use reference, see The Ultimate Stainless Steel Cooking Checklist (digital download).
They won’t behave exactly like coated nonstick, but they can release cleanly when you preheat first, add oil after the pan is hot, wait for the oil to shimmer, and let food cook long enough to form a crust before you move it.
Simmer a little water in the pan to soften the stuck-on layer, then scrape gently with a wooden spatula and wash with dish soap using a non-scratch sponge. For stubborn residue, a stainless cleaner can help without gouging the surface.
That rainbow tint is usually harmless heat oxidation. A wipe with vinegar or a stainless cleaner followed by a thorough rinse and dry will restore the finish, and the discoloration doesn’t typically affect cooking performance.










Leave a comment